minolta x 700 instruction manual
Minolta X-700 Instruction Manual: A Comprehensive Guide
Navigating the world of film photography with the Minolta X-700 requires understanding its features, from exposure modes to metering systems,
ensuring optimal results and creative control for photographers of all levels․
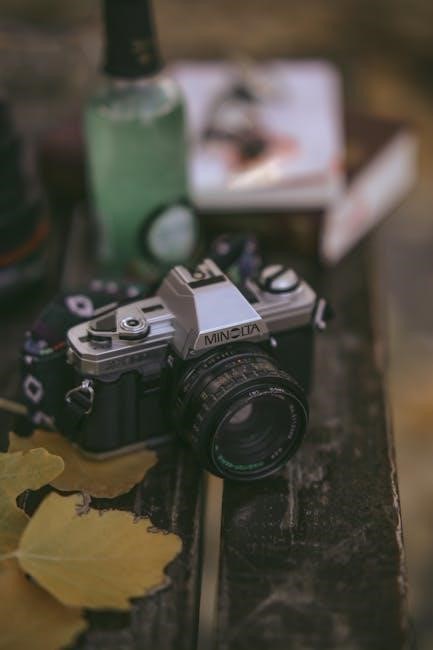
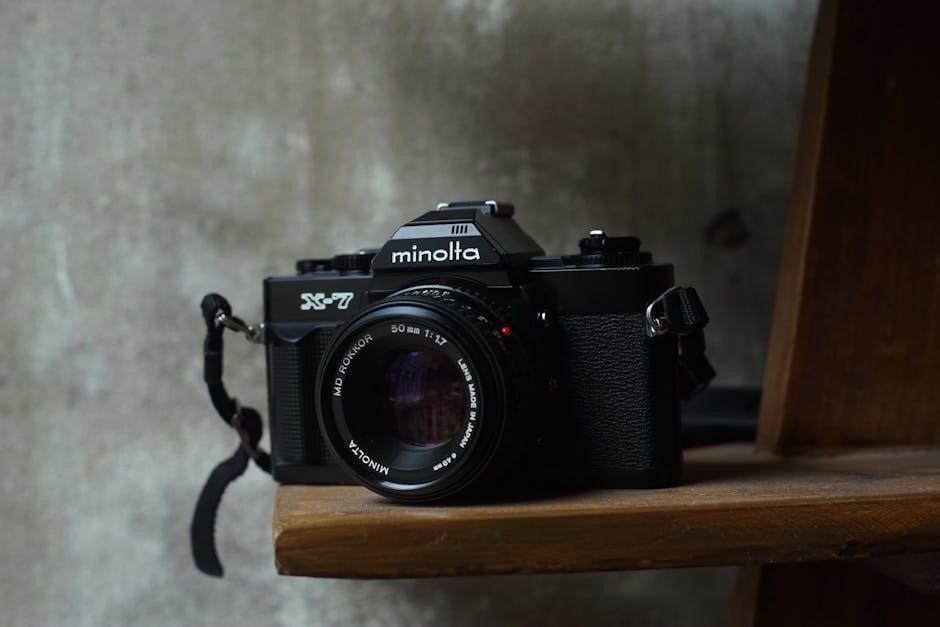
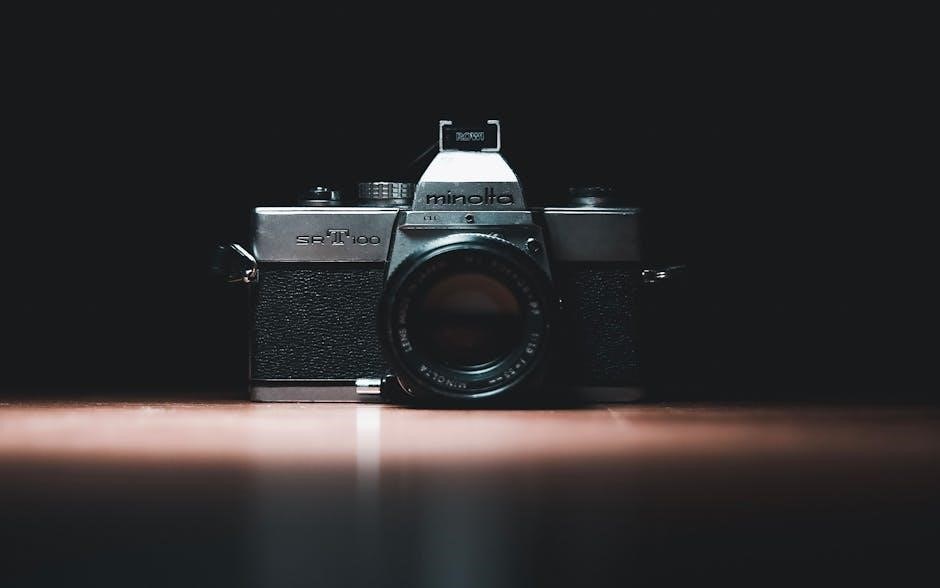
The Minolta X-700, released in 1983, represents a pivotal moment in 35mm SLR camera design․ It successfully bridged the gap between fully mechanical cameras and those heavily reliant on electronic automation․ This camera quickly gained popularity due to its blend of user-friendly features and professional-level capabilities, making it an excellent choice for both beginners and experienced photographers․
This instruction manual aims to provide a comprehensive guide to understanding and utilizing all aspects of the Minolta X-700․ We will delve into its various functions, from basic operation and film loading to advanced techniques like utilizing different exposure modes and mastering the metering system․ Understanding the nuances of this camera will unlock its full potential, allowing you to capture stunning images with confidence․ The X-700’s enduring appeal lies in its reliability and the quality of images it produces․
Understanding the Camera Body
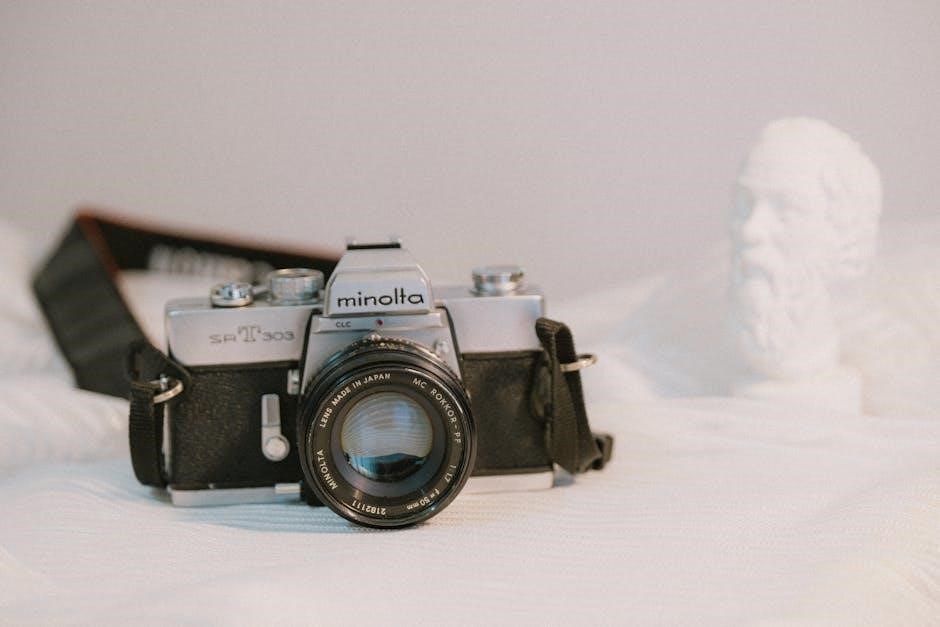
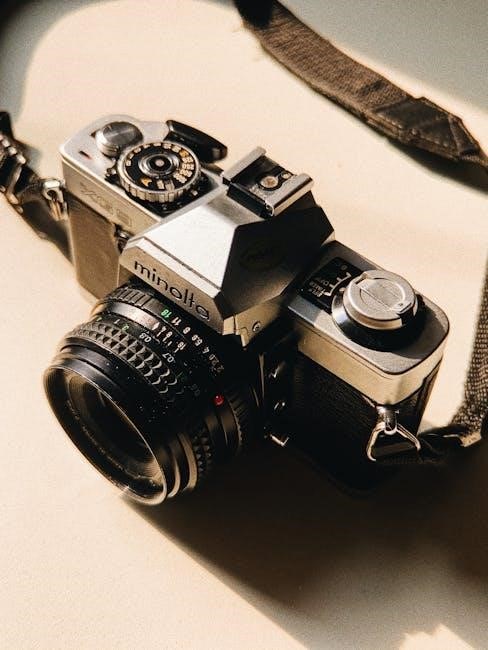
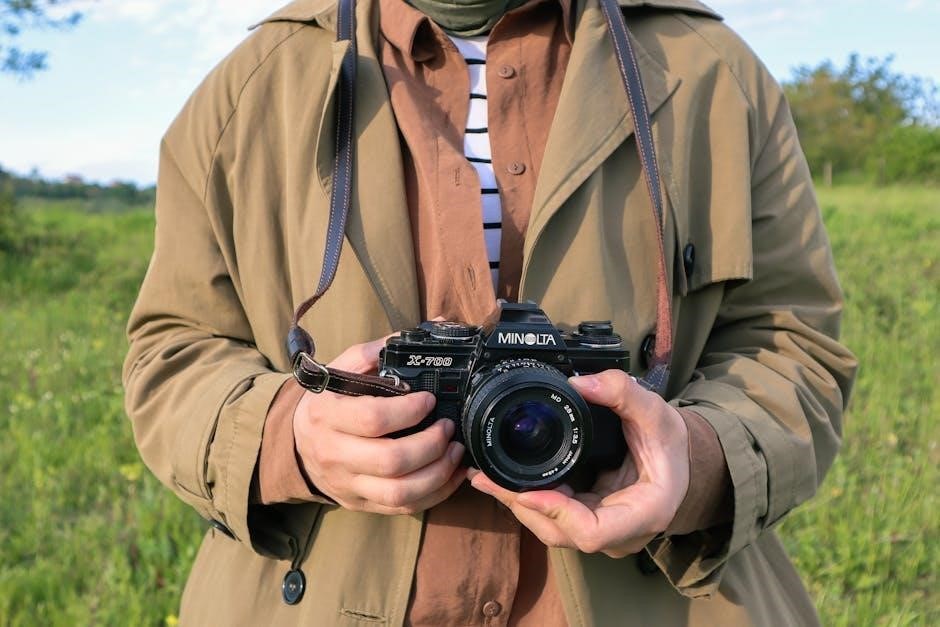
The Minolta X-700’s body is primarily constructed from durable metal, offering a solid and reassuring feel․ Key components include the film advance lever, shutter release button, exposure compensation dial, and mode dial – all strategically positioned for comfortable and intuitive operation․ The top plate houses the viewfinder, hot shoe for external flash, and various control dials․
On the rear panel, you’ll find the film rewind crank, film door release, and LCD screen displaying crucial shooting information like shutter speed and aperture․ The bottom of the camera features the battery compartment and tripod socket․ Familiarizing yourself with the location and function of each button, dial, and lever is crucial for efficient operation․ The camera’s ergonomic design prioritizes accessibility and ease of use, allowing photographers to focus on composition and capturing the perfect moment․
Key Features and Specifications
The Minolta X-700 boasts a horizontally-traveling focal plane shutter with speeds ranging from 2 seconds to 1/2000th of a second, alongside a Bulb mode for long exposures․ It accepts standard 35mm film, offering versatility for various photographic styles․ Its exposure modes – Program, Aperture Priority, Shutter Priority, and Manual – provide creative control․
The camera features a center-weighted metering system with spot and partial metering options, ensuring accurate exposure in diverse lighting conditions․ It also includes a built-in self-timer and flash capability․ Specifications include a viewfinder with approximately 92% coverage, and compatibility with a wide range of Minolta MD-mount lenses․ Its robust build quality and reliable performance make it a favorite among film enthusiasts․
Loading Film into the Minolta X-700
To load film, first, open the camera back by sliding the film release lever․ Insert the film canister into the left side of the camera chamber, ensuring it clicks into place․ Pull the film leader across the camera and attach it to the take-up spool on the right side․ Gently advance the film using the film advance lever, checking that the sprocket holes engage properly․
Continue advancing the film until the rewind knob begins to rotate, indicating the film is securely attached to the take-up spool․ Close the camera back firmly․ The X-700 automatically resets the film counter to ‘S’ and advances the film to frame 1 when you close the back․ Always ensure the film is loaded correctly to prevent damage and ensure proper exposure throughout your roll․
Setting the Film Speed (ISO/ASA)
Accurately setting the film speed (ISO/ASA) is crucial for correct exposure․ Locate the ISO/ASA dial on the Minolta X-700, typically found on the top plate․ Lift the dial’s cover and rotate it until the desired ISO/ASA value aligns with the indicator mark․ The X-700 supports a range of film speeds, commonly from 25 to 3200 ISO․
Ensure the selected ISO/ASA matches the film loaded in the camera․ Using an incorrect setting will result in under or overexposed photographs․ For example, if using a 400 ISO film, set the dial to 400․ After setting, close the dial cover to prevent accidental changes․ Remember to reset the ISO/ASA dial whenever you change film types to maintain accurate metering and consistent results․
Understanding the Exposure Modes
The Minolta X-700 offers versatile exposure modes for diverse shooting scenarios․ These include Aperture Priority (A), Shutter Priority (S), Program (P), and Manual (M)․ In Aperture Priority, you select the aperture (f-stop) and the camera automatically sets the shutter speed․ Shutter Priority allows you to choose the shutter speed, with the camera adjusting the aperture․
Program mode lets the camera determine both aperture and shutter speed for general use․ Manual mode grants full control over both settings, ideal for challenging lighting or creative effects․ The mode dial on top of the camera selects the desired mode․ Understanding each mode’s function empowers you to achieve the desired look and properly expose your photographs in various conditions․
Aperture Priority Mode (A)
In Aperture Priority mode, designated by ‘A’ on the mode dial, you, the photographer, control the lens aperture, influencing depth of field․ A wider aperture (smaller f-number like f/2․8) creates a shallow depth of field, blurring the background – perfect for portraits․ Conversely, a narrower aperture (larger f-number like f/16) yields greater depth of field, keeping more of the scene in focus, suitable for landscapes․
The Minolta X-700 then automatically calculates and sets the appropriate shutter speed for correct exposure․ The viewfinder displays the selected shutter speed․ Remember to monitor this speed to avoid motion blur or underexposure․ This mode balances creative control over depth of field with the camera’s assistance in achieving proper exposure․
Shutter Priority Mode (S)
Shutter Priority mode, indicated by ‘S’ on the dial, allows you to dictate the shutter speed, controlling motion blur and freezing action․ A fast shutter speed (e․g․, 1/500s) freezes fast-moving subjects like sports or wildlife․ A slower shutter speed (e․g․, 1/30s) introduces motion blur, useful for conveying a sense of movement or creating artistic effects like light trails․
The Minolta X-700 automatically adjusts the aperture to achieve correct exposure based on your chosen shutter speed․ The viewfinder will display the selected aperture․ Be mindful of the aperture value; extremely wide apertures might result in a shallow depth of field, while narrow apertures require ample light․ This mode is ideal when prioritizing motion control over depth of field․
Program Mode (P)
Program Mode, designated by ‘P’ on the camera dial, offers a fully automatic shooting experience, simplifying photography for beginners or situations demanding quick responses․ The Minolta X-700 intelligently selects both the shutter speed and aperture based on the lighting conditions, aiming for optimal exposure․ While convenient, Program mode isn’t entirely hands-off․
Programmed Auto Flexible (PAF) allows for exposure compensation – adjusting the overall brightness of the image․ You can shift the program, effectively telling the camera to favor either faster shutter speeds (for freezing action) or wider apertures (for shallow depth of field) within the programmed exposure․ This provides a degree of creative control without manual settings․ It’s a versatile mode for everyday shooting․
Manual Mode (M)
Manual Mode (M) grants the photographer complete control over both the shutter speed and aperture, bypassing the camera’s automatic settings․ This mode is ideal for challenging lighting situations where the meter might be fooled, or when a specific creative effect is desired – like intentional motion blur or extreme depth of field․ In ‘M’ mode, the X-700 relies entirely on your judgment and the readings from an external light meter or the camera’s built-in metering system (used as a guide)․
Remember that in Manual mode, the camera won’t automatically adjust settings․ You must independently set both the shutter speed and aperture to achieve proper exposure․ The viewfinder displays indicators to help you assess exposure, but ultimately, the responsibility lies with you․ Mastering Manual mode unlocks the full potential of the Minolta X-700․
Using the Viewfinder
The Minolta X-700’s viewfinder provides a bright and clear view of your subject, displaying crucial information for accurate exposure and focusing․ Within the viewfinder, you’ll find focusing aids – a split-image rangefinder in the center and a microprism collar surrounding it – which help achieve sharp focus, especially with manual focus lenses․ Exposure indicators, including LEDs, show whether your current settings will result in overexposure, underexposure, or correct exposure․
These LEDs illuminate based on the camera’s metering mode․ The viewfinder also displays shutter speed information when in Shutter Priority or Program mode․ Familiarize yourself with all the elements within the viewfinder; it’s your primary interface for composing and capturing images with the X-700․
Focusing Techniques with the Minolta X-700
Achieving sharp focus is paramount with the Minolta X-700, particularly as it relies heavily on manual focusing with many lenses․ Utilize the split-image rangefinder in the viewfinder; align the two opposing images into one cohesive image for precise focus․ The microprism collar surrounding the split-image assists with finer adjustments, appearing grainy when out of focus and smoothing as you approach sharpness․
For moving subjects, pre-focus on a point where you anticipate the subject will be, then track their movement while slightly adjusting the focus ring․ Practice makes perfect! Remember depth of field – a smaller aperture (higher f-number) increases depth of field, making more of the scene appear sharp․ Experiment with different apertures to control focus creatively․
Metering System Explained
The Minolta X-700 boasts a sophisticated metering system crucial for accurate exposure․ It offers three distinct metering modes: spot, partial, and average․ Spot metering measures light from a very small area (approximately 5 degrees), ideal for challenging lighting situations or specific subject isolation․ Partial metering covers a slightly larger area (approximately 12 degrees), offering a balance between precision and broader scene assessment․
Average metering evaluates the entire frame, providing a general exposure reading․ Use the exposure compensation dial to fine-tune readings when shooting scenes with strong backlighting or predominantly dark/light tones․ The viewfinder displays a needle indicating exposure status; center it for correct exposure, adjusting aperture or shutter speed accordingly․ Understanding these modes empowers precise control over image brightness․
Spot Metering
Spot metering on the Minolta X-700 is a powerful tool for precise exposure control in difficult lighting․ It measures light from a very small, central area – approximately 5 degrees – of the scene․ This is exceptionally useful when your subject is strongly backlit, or when you need to expose specifically for a small detail, disregarding the overall scene brightness․
To utilize spot metering, select the ‘Spot’ setting on the camera․ Aim the center spot at your desired subject area and observe the viewfinder’s exposure needle․ Adjust your aperture or shutter speed until the needle centers, achieving correct exposure for that specific spot․ Remember, spot metering only considers the light within that small area; therefore, careful aiming is crucial for accurate results․ It’s ideal for portraits or high-contrast scenes․
Partial Metering
Partial metering on the Minolta X-700 offers a compromise between the precision of spot metering and the broader coverage of average metering․ It measures light from a slightly larger area – roughly 12 degrees – centered in the viewfinder․ This mode is beneficial when spot metering feels too restrictive, but you still want to prioritize exposure based on a specific portion of the scene․

To engage partial metering, select the ‘Partial’ setting․ Aim the central area towards your primary subject, and observe the exposure needle․ Adjust your camera settings until the needle centers, achieving a balanced exposure for that defined region․ Partial metering is particularly useful for portraits where you want to prioritize facial exposure while still considering some surrounding context․ It provides a good balance for many common shooting scenarios․
Average Metering
Average metering, often the default setting on the Minolta X-700, evaluates the light across the entire frame to determine the optimal exposure․ The camera calculates an average light level and sets the aperture and shutter speed accordingly․ This mode excels in scenes with relatively even lighting and moderate contrast, providing generally accurate exposures without requiring precise aiming․
To utilize average metering, simply ensure the camera is set to this mode․ Compose your shot as desired, and the camera will assess the overall brightness․ While convenient, be mindful of scenes with significant backlighting or strong highlights, as average metering can be fooled by extreme brightness differences․ In such cases, consider partial or spot metering for more controlled results․ It’s a reliable choice for everyday photography․
Using the Self-Timer
The Minolta X-700’s self-timer function allows for delayed shutter release, ideal for group photos or situations where you need to be in the frame․ Located on the camera’s front, the self-timer lever has two positions: ‘N’ for normal operation and ‘T’ for timer mode․ To activate, move the lever to ‘T’․ A small lamp on the top deck will illuminate, indicating the timer is engaged․
Pressing the shutter button initiates a roughly 10-second delay before the shutter fires․ During this time, the lamp continues to blink․ To cancel the self-timer before it fires, simply return the lever to ‘N’․ Remember to compose your shot and be in position before activating the timer․ The self-timer is a simple yet effective tool for expanding your photographic possibilities, especially when a tripod isn’t available․
Flash Photography with the X-700
The Minolta X-700 offers versatile flash photography options, accommodating both dedicated Minolta flashes and standard electronic flash units․ The camera features a hot shoe for direct flash mounting and a PC sync terminal for off-camera flash setups․ When using a dedicated Minolta flash, the camera can control flash exposure automatically in TTL (Through-The-Lens) mode, ensuring properly exposed images․
For non-dedicated flashes, you’ll need to set the flash power manually, referencing the camera’s exposure meter and flash’s guide number․ The X-700’s sync speed is 1/60th of a second; using faster shutter speeds will result in a partially obscured image․ Experiment with flash angles and diffusion techniques to soften the light and achieve desired effects․ Remember to check your flash’s compatibility before use․
Troubleshooting Common Issues
Encountering problems with your Minolta X-700 is common, but many are easily resolved․ If the camera doesn’t fire, check the battery compartment for corrosion and ensure fresh batteries are correctly installed; A blank viewfinder often indicates a problem with the film loading or a faulty shutter․ Ensure the film is properly threaded and the shutter speed dial isn’t set to ‘B’ without pressing the shutter release․
Exposure inaccuracies can stem from incorrect ISO settings or a malfunctioning meter․ Verify the ISO dial and consider a meter calibration if issues persist․ If the film advance is stiff, gently clean the film rails․ Lastly, if the camera consistently produces underexposed or overexposed images, a professional CLA (Clean, Lubricate, and Adjust) service is recommended․
Battery Information and Replacement
The Minolta X-700 utilizes two SR44 (or equivalent) 1․5V silver oxide batteries to power its electronic functions, including the light meter and electromagnetic shutter release․ Battery life varies depending on usage, but typically lasts for several months with moderate use․ A low battery indicator appears in the viewfinder, signaling the need for replacement․
To replace the batteries, locate the battery compartment on the camera’s bottom․ Use a small screwdriver to open the compartment cover․ Ensure correct polarity when inserting the new batteries – positive (+) side up․ Always use high-quality silver oxide batteries for optimal performance․ Avoid using alkaline batteries, as they may not provide sufficient power or could leak and damage the camera․ Proper battery maintenance ensures reliable operation․
Lens Compatibility and Usage
The Minolta X-700 is compatible with a wide range of Minolta SR mount lenses, offering photographers extensive creative options․ This includes both manual focus lenses and those with automatic diaphragm control (MD lenses)․ MD lenses provide full functionality, including aperture control from the camera body․ Older SR mount lenses require manual aperture setting via the lens aperture ring․
When mounting a lens, align the red dot on the lens with the corresponding dot on the camera body and gently rotate until it clicks into place․ To remove, press the lens release button and twist․ Always handle lenses with care, avoiding fingerprints on the glass․ Using a lens hood can minimize flare and improve image contrast․ Regularly clean your lenses with a soft brush and lens cleaning solution․
Care and Maintenance of Your Minolta X-700
To ensure the longevity of your Minolta X-700, regular care and maintenance are essential․ Keep the camera body clean by wiping it with a soft, dry cloth․ Avoid using harsh chemicals or solvents․ Protect the camera from dust, moisture, and extreme temperatures․ Store the camera in a cool, dry place when not in use, ideally in a camera bag․
Periodically check the light seals for deterioration, as these can crumble over time and affect your images․ The film compartment should be cleaned regularly to remove any dust or film debris․ Avoid forcing any parts of the camera․ If you encounter any issues, consult a qualified camera repair technician․ Proper care will keep your X-700 functioning reliably for years to come․